 USD
USD 
How to Join Flat Drive Belts on TOS Trenčín SV18R Lathes
The joining procedure described in this article applies specifically to the flat belt system used on TOS Trenčín SV18R lathes. The lather models SV18RA and SV18RD have a connected belt and does not need to be glued on the lathe.
The flat drive belt used on TOS Trenčín SV18R lathes is an important part of the spindle drive system and ensures smooth and reliable power transmission. Correct joining of the belt is essential for achieving a durable connection capable of handling long-term machine operation under load.
In this article, we explain the complete process of joining flat drive belts for SV18R lathes, including surface preparation, adhesive application and the recommended pressure and temperature conditions required for a professional belt joint.
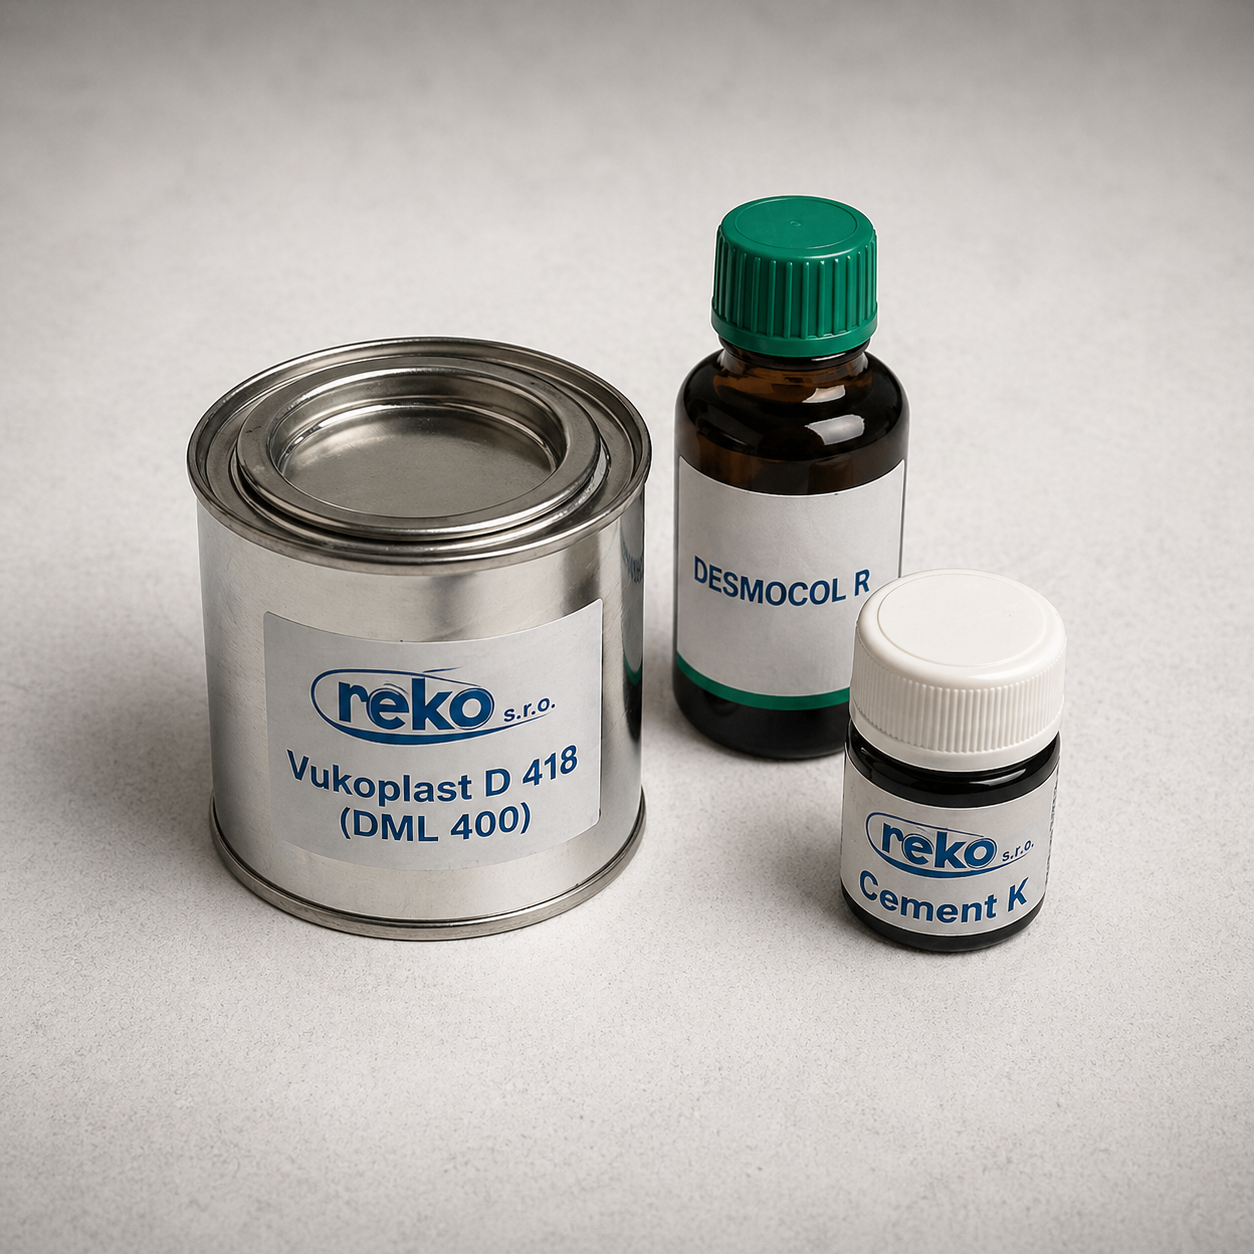
Order your replacement belt and glue on our eshop:
Make sure to measure the length of the belt on your lathe. We offer the belts in 3 lengths. Do not forget that your belt might be stretched out. If for example your belt is 2395 mm, you are safe to use the 2360 mm as you can adjust the height of the speed box against the main spindle.
The flat drive belt on TOS SV18R lathes transfers power from the motor to the spindle drive system. Correct joining of the belt is essential for smooth operation, reliable power transmission and long service life.
Common signs of a worn flat belt
– slipping during spindle acceleration
– unstable spindle speed
– visible cracks on the belt surface
– hardened rubber surface
– damaged or separating belt joint
– excessive vibration
Step by step guide
1. Apply Cement K adhesive with a brush to the sanded polyamide (PA) surfaces. The adhesive should be
applied in a thin layer.
The working time of Cement K adhesive is approximately 40–50 minutes at room temperature.
2. Approximately 15 minutes before the end of the Cement K working time, apply Vukoplast D 418 (DML400) adhesive mixed with 5–10% Desmocol R hardener to the sanded rubber (G) surfaces.
Apply two coats:
– the first coat until dry
– the second coat until slightly tacky
3. Assemble the joint so that the individual layers align correctly, i.e.: PA layer to PA layer, G layer to G layer
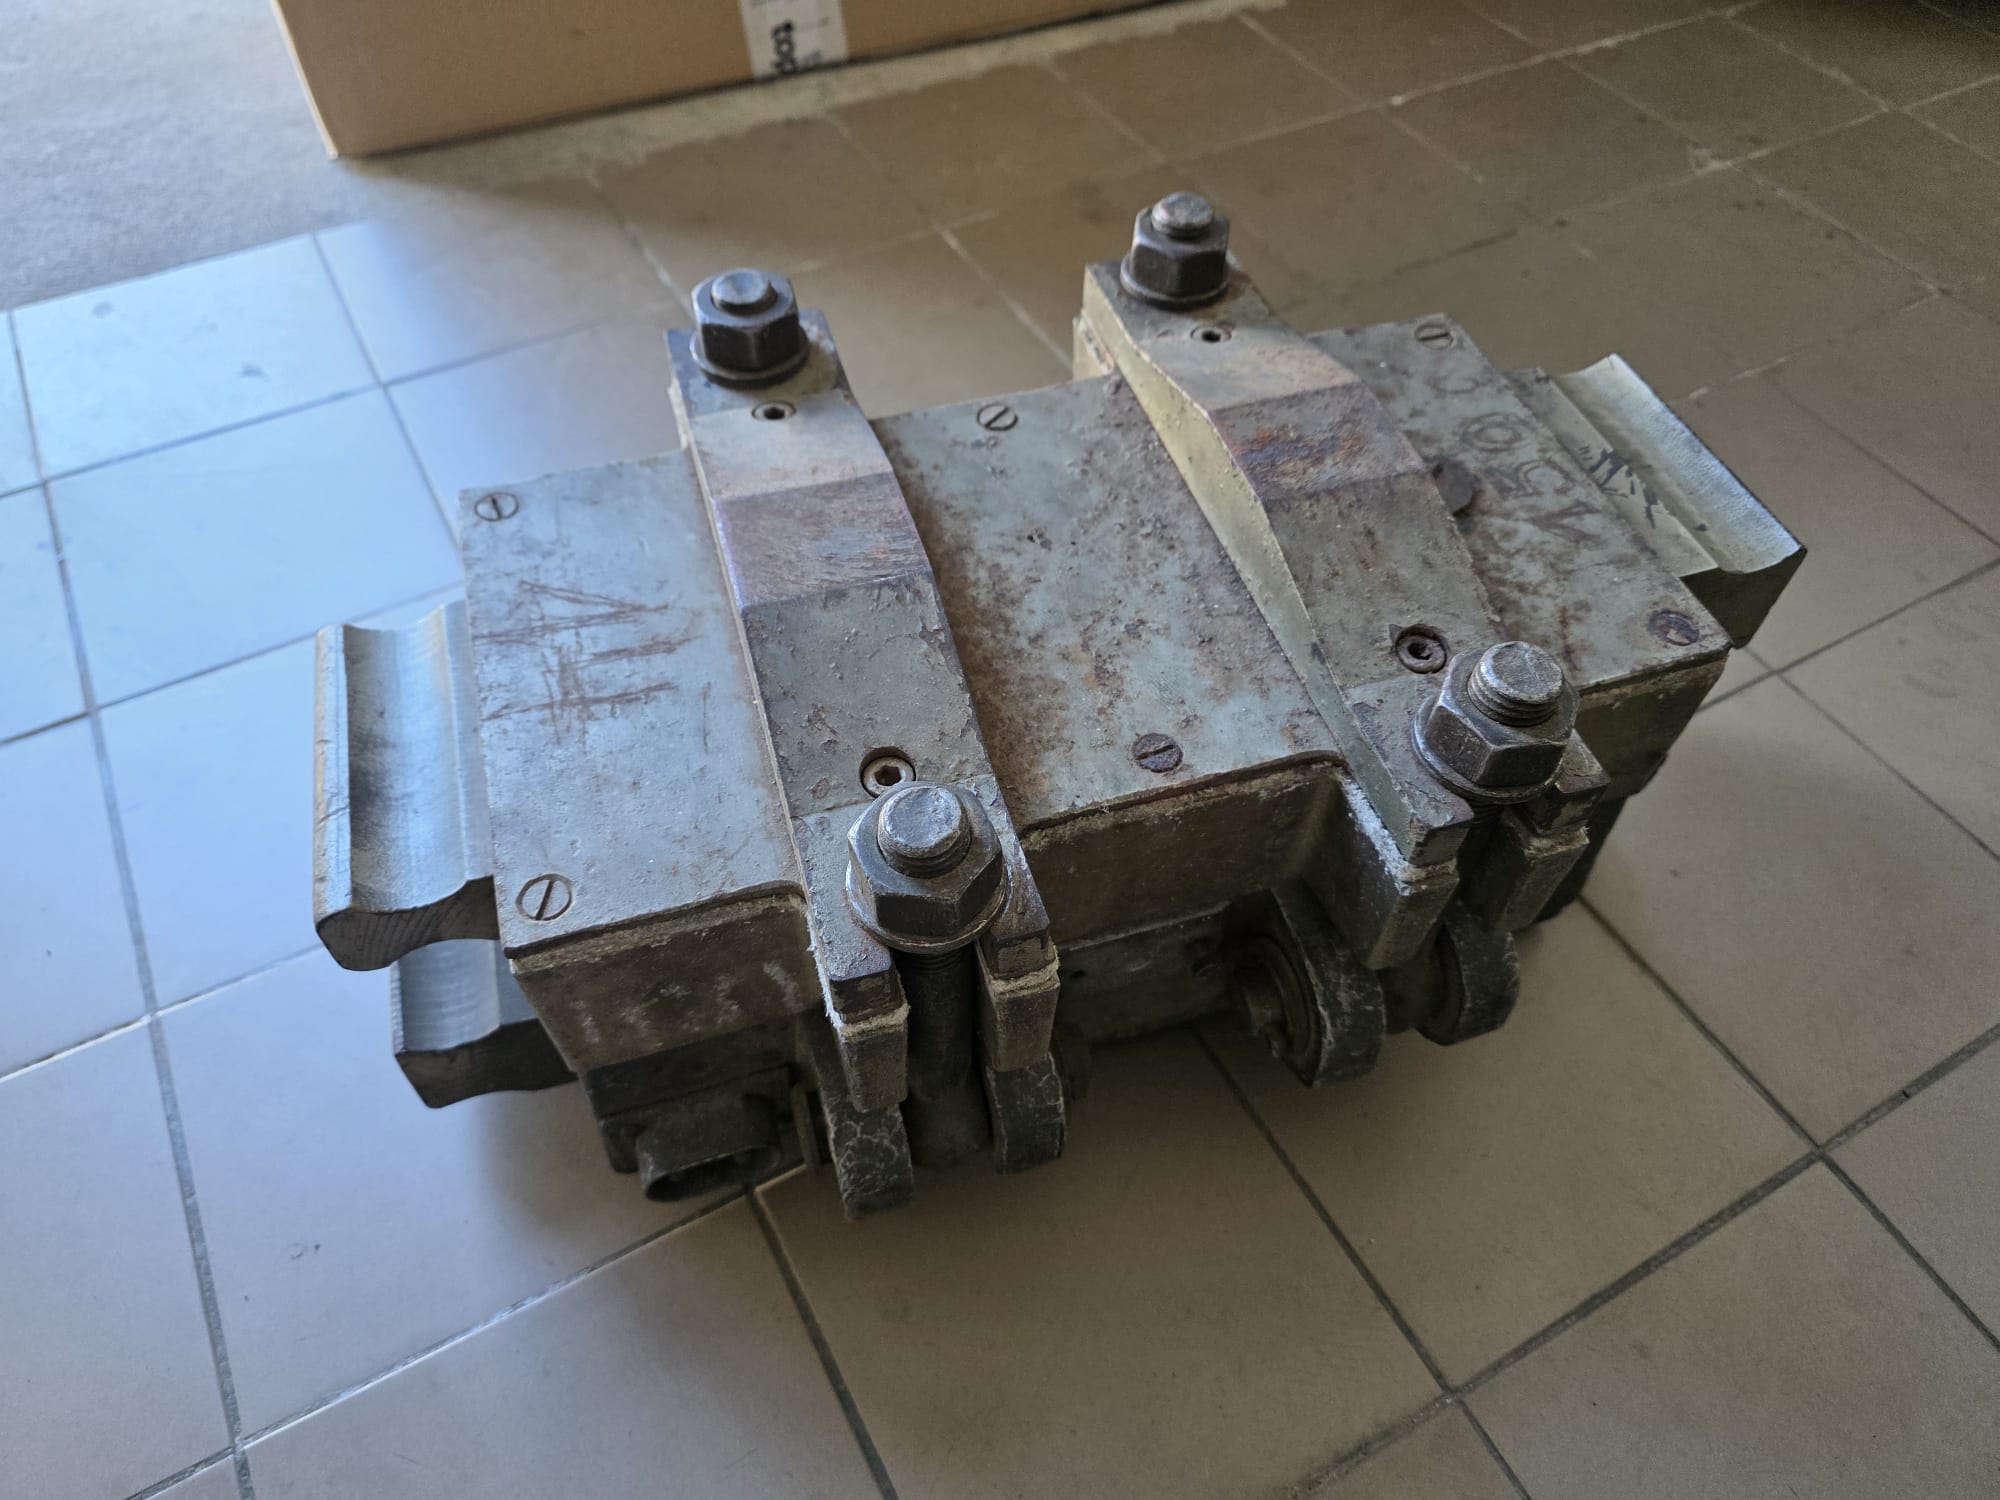
Place the secured joint into a heated pressing device and bond it under a minimum pressure of 0.5 MPa at a temperature of 90–100 °C for 30 minutes.
It is necessary to maintain a constant temperature during the process.
After heating, allow the belt to cool under pressure to a maximum temperature of approximately 30 °C.
Clean the joint from excess adhesive. The belt can then be fully loaded and put into operation.
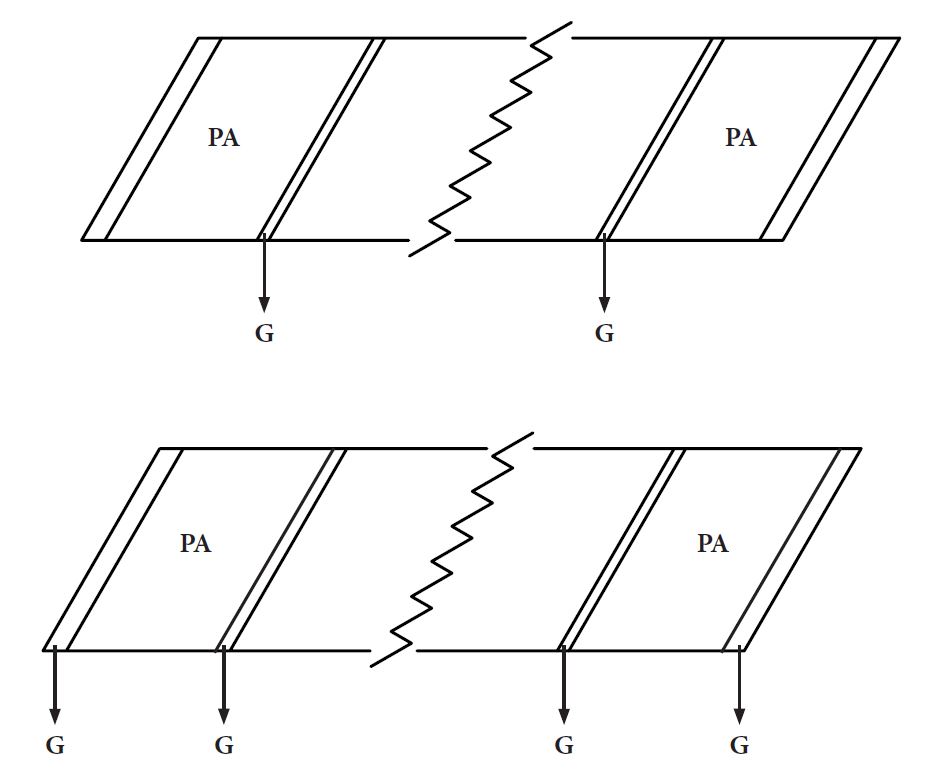
Important
Maintain constant temperature during pressing
Improper alignment may weaken the joint
Allow the belt to cool under pressure before use
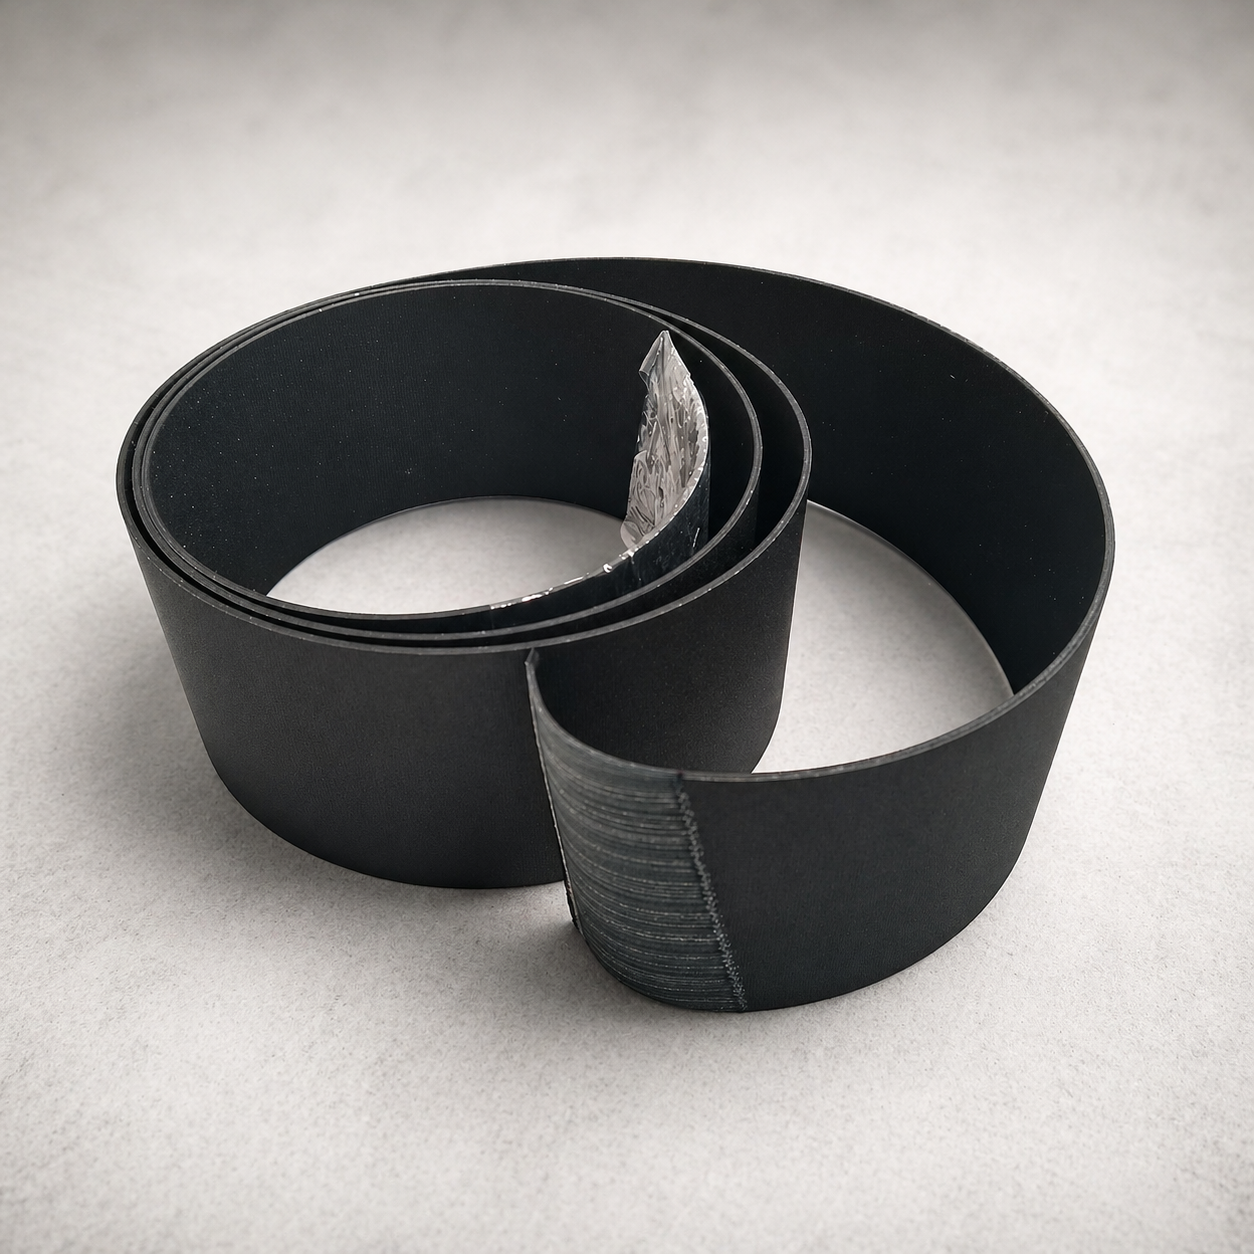
Joining the belt in practise
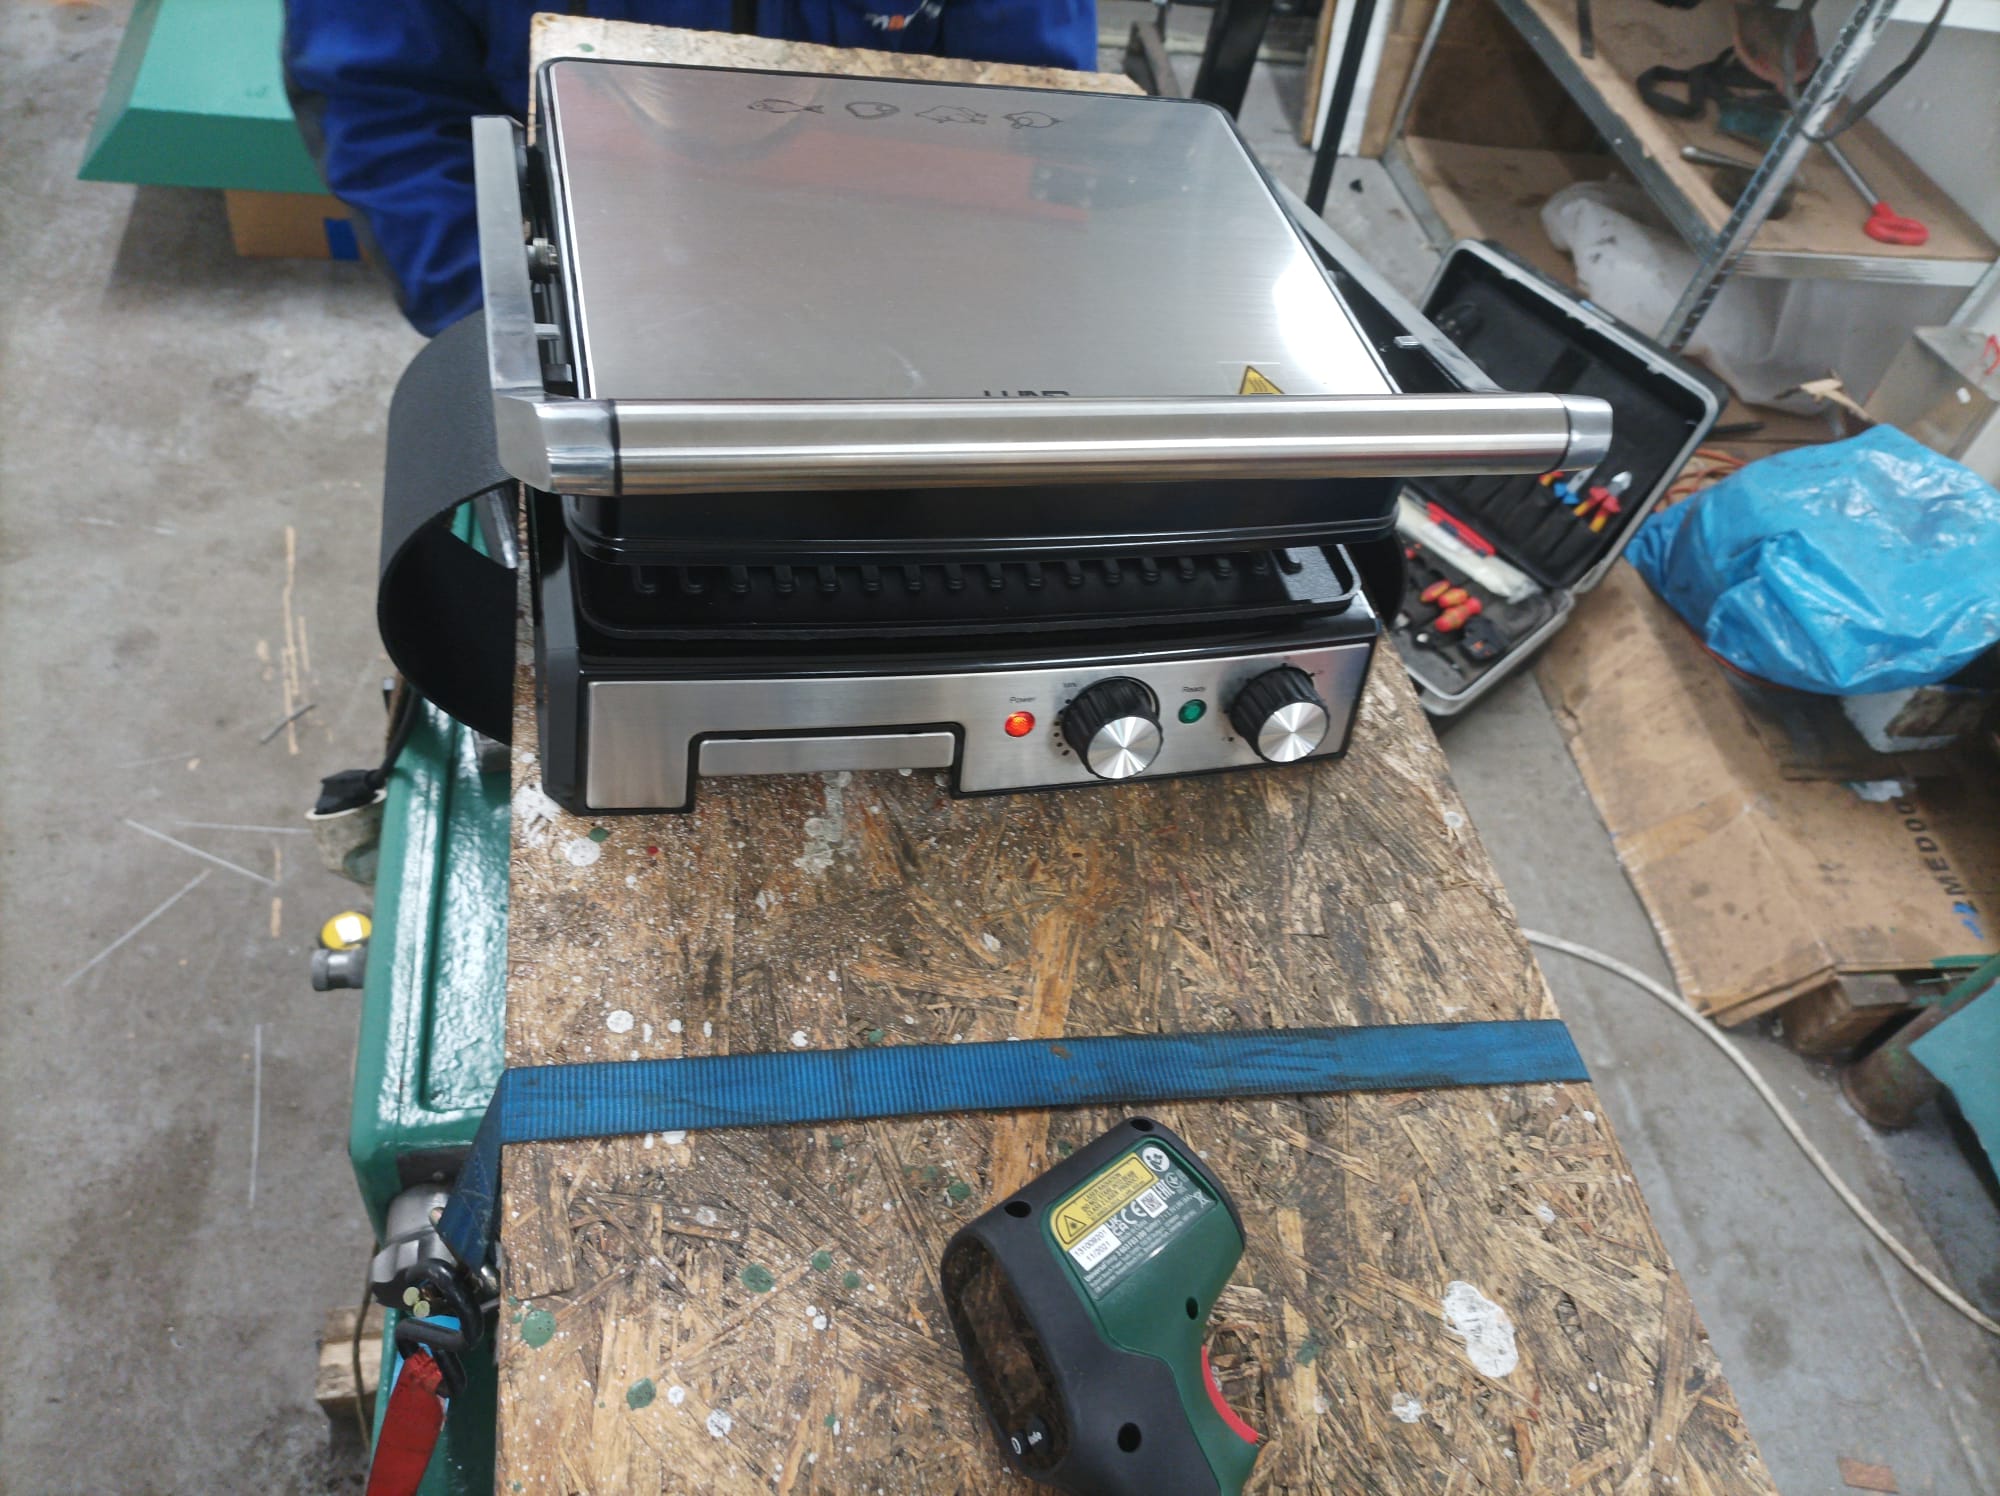
The joining process of the belt is done on the lathe itself, only once you insert the belt into the headstock. The original heating device is on the picture left. But don’t worry if you do not have the original device, it is only about creativity as you can see on the picture on the right from one of our customer :)
Download
Download the PDF guide HERE